Here’s my way to make frontpanels using Lazertran decals for the frontpanel design.
Usually I start drawing the panel layout in Frontpanel designer from Schaeffer, whether I have the panel cut there or not. Their frontpanel software is free and easy to use. Schaeffer panels are quite expensive but in my opinion that’s nothing compared to the time wasted on cutting out holes, filing and drilling by trying to make your own.
Normally I try if my design fits on the hardware by cutting out a dummy cardboard frontpanel with a printout of the frontpanel design glued upon.
If everything looks good, I then have the frontpanel cut. As material I use raw aluminium in 2mm or 2.5mm strenght.
Next comes the design of the panel. There are a couple of softwares available for this purpose, like for example Frontdesigner from Abacom, or any other good graphic design program.
The problem using Lazertran paper is that you can only print colors your printer is able to resolve, which means : NOT WHITE! In case you would want some white fonts on black background, you would have to print the decal entirely black except for the fonts.
Therefore the panel background has to be of a light or white color.
It is helpful to make a screenshot of the fronpaneldesigner panel, convert it to .jpg and load it as background image with the correct size into the graphics design program. This enables a fast and accurate way of positioning labels, scales and so on.
When the graphics are done, it is time to print them on the Lazertran paper. I use the Lazertran Inkjet paper, I do not have any experience with the one for Laserprinters. As print setup, on my cheap HP deskjet, I just use the ‘normal’ mode and speed. Make sure to print on the right side, the one which is slightly of eggshell color.
The decals can be set aside to dry, I usually let them dry one day.
In the meantime the frontpanel can be prepared:
First i sand it using 1000th abrasive paper or finer and water, just a bit until the surface is not shiny anymore.
Do not apply to much force, very gently will do.
Now the primer can be applied, a light coating covering the whole surface evenly. Make sure the surface is free from dust, any little particle will be visible later! The primer is necessary to make the paint stick to the panel.
Now sand again with the finest paper possible and water, very gently, until the surface is really even.
Next is the first coating of the panel color, after each coating, repeat the process of sanding. I usually put on 3 coatings, until I have a very even and nice result. Allow to dry at least 12h between each coating.
After the panel has dried completely, the decals can be applied.
Therefore the decals have to be cut to the frontpanel size or smaller, as required.
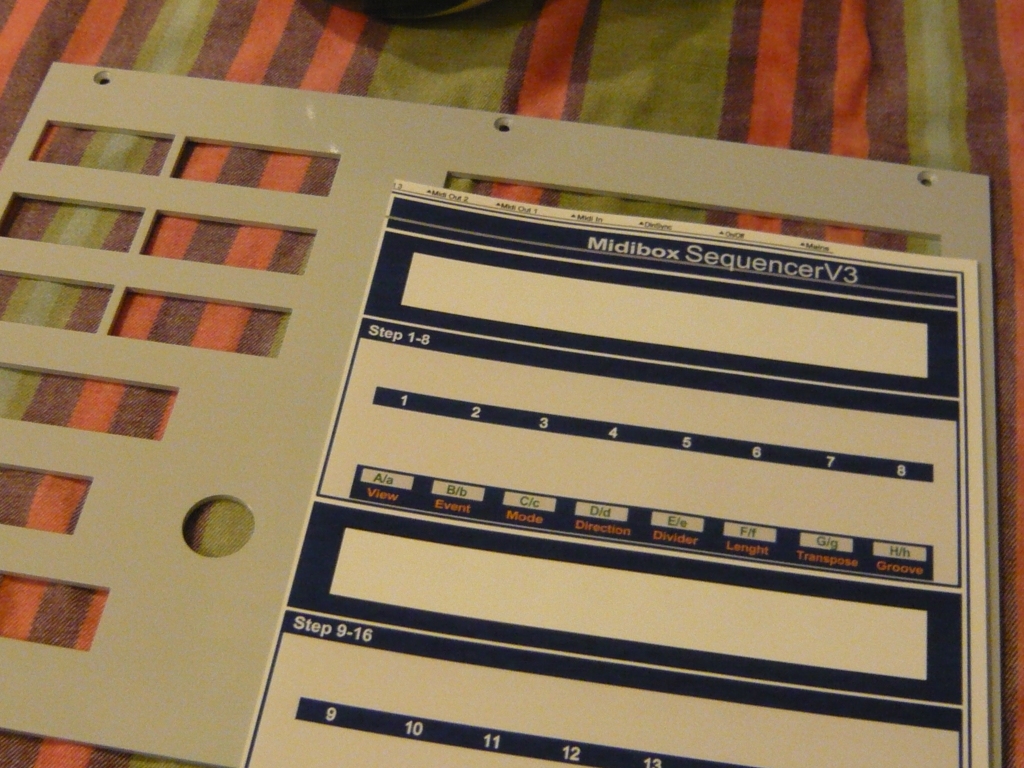
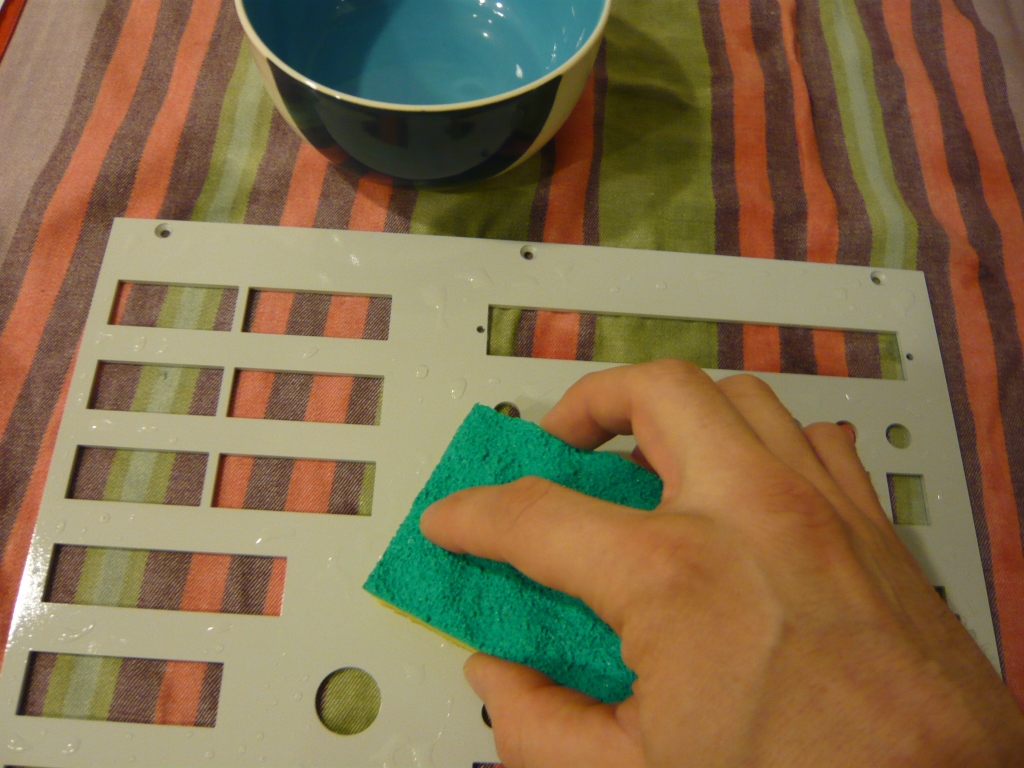
Now wet the frontpanel with a sponge to allow the decal to float when applied.
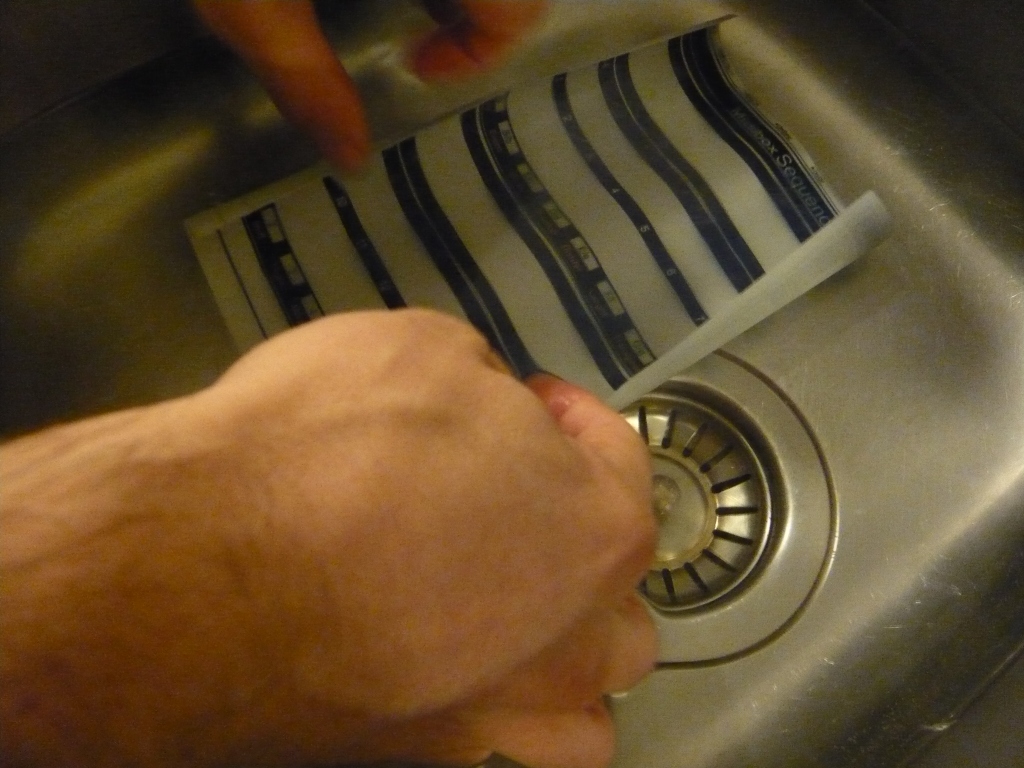
The decal can now be soaked into water, I use hand-warm water. Let it soak a bit until the decal comes off from its support paper.
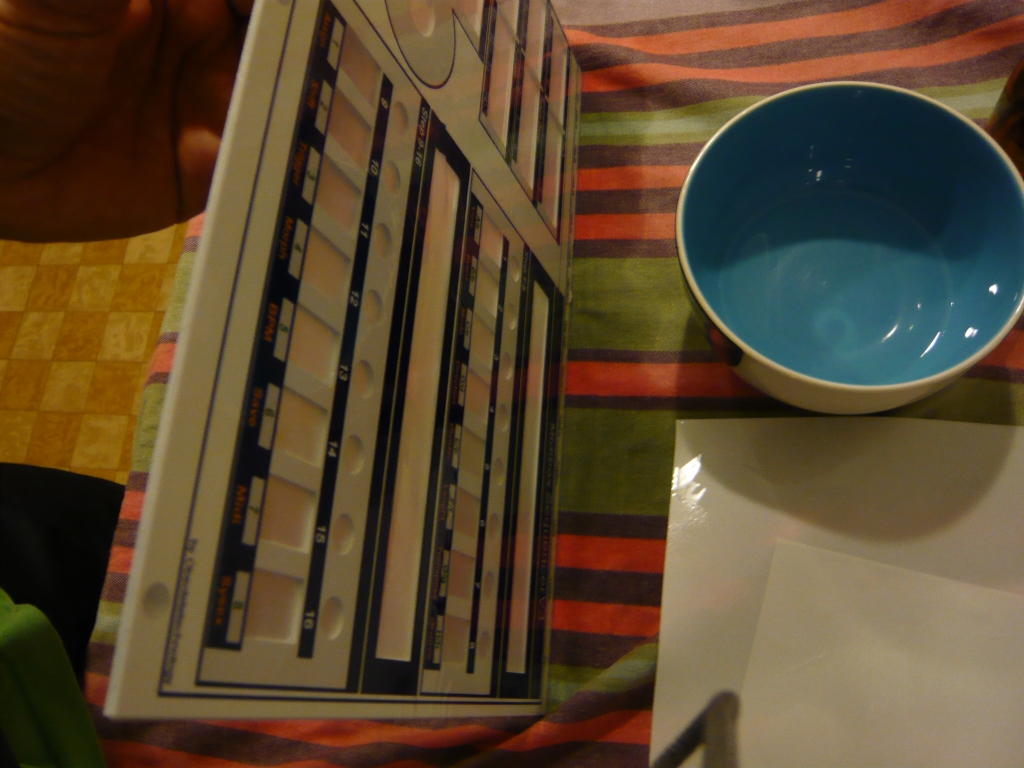
Now it can be applied to the panel by placing the decal and then sliding the support paper away underneath.
Try to align the decals as good as possible and let them dry. It can help to lift the panels into upright position to allow the water to drip off, but in this case watch out that the decals do not slide from their position.
I found that the decals are quite robust and can be handled quite well, just take your time and do not rush.
After the decals dried, you will find that they turn opaque again, but this will change once we apply the clearcoat.
Allow to dry for minimum one day before clearcoating.
I found that it takes at least 4 fine layers of clearcoat in order to make the frontpanels resistant to scratches and daily abuse. Once the paint has dried, the holes can be cut out with a sharp knife.

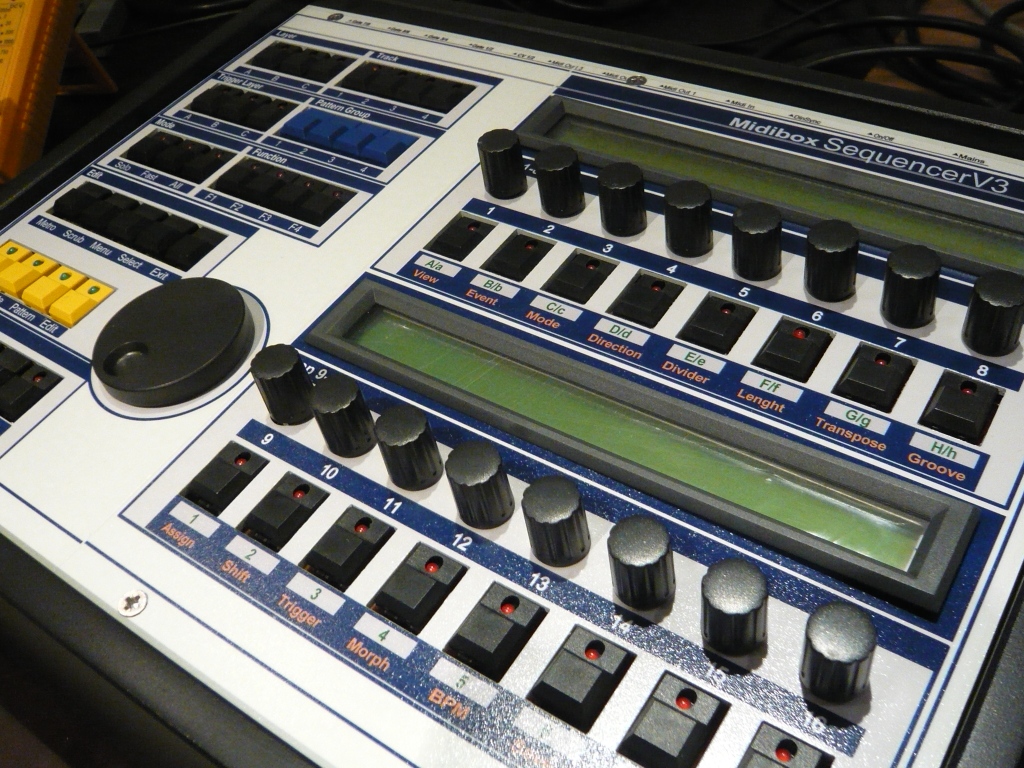
That’s it, now lets see how it looks on the machine:


