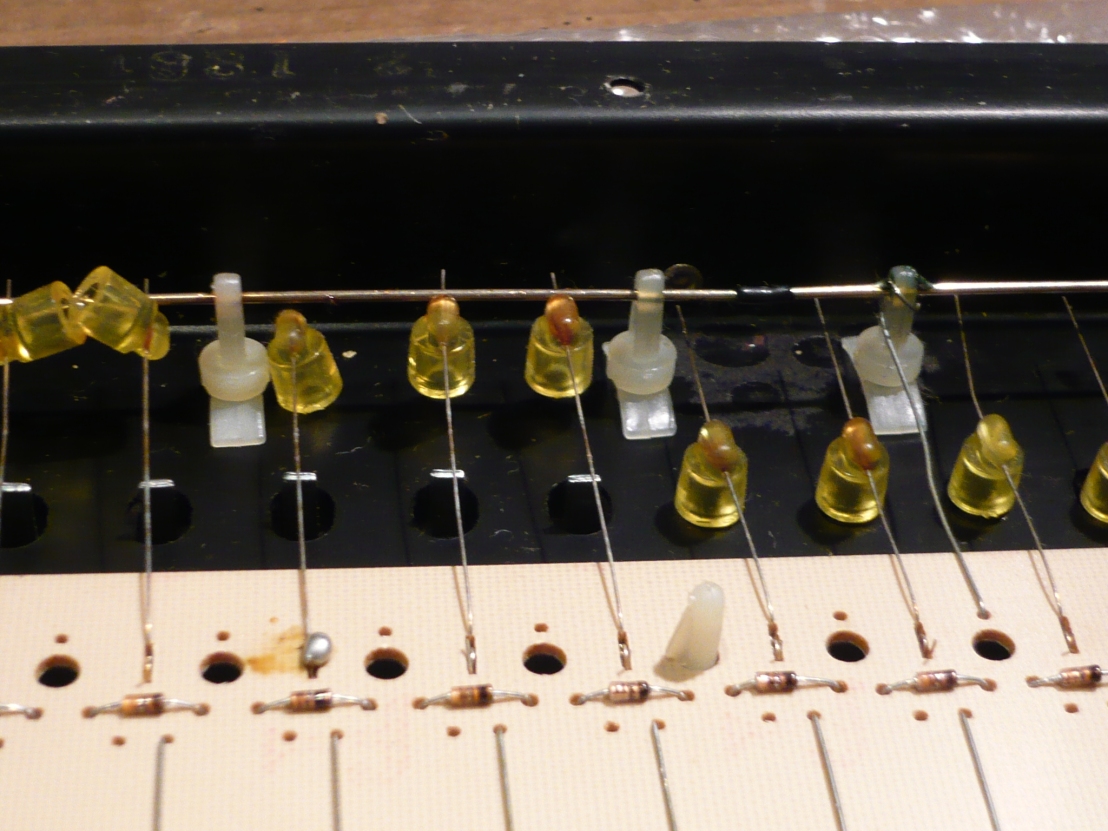
These kind of keyboards have been used in a lot of synthesizers, like the Sequencial Prohet5, Pro-one, Oberheim Obx-a etc.
All the keyboards of this kind which I had for repair suffered from the same symptoms: sticky keys without any dampening and bad contacts.
The contact problem could be solved by some good cleaning with q-tips and the help of Caig ProGold as a contact cleaner.
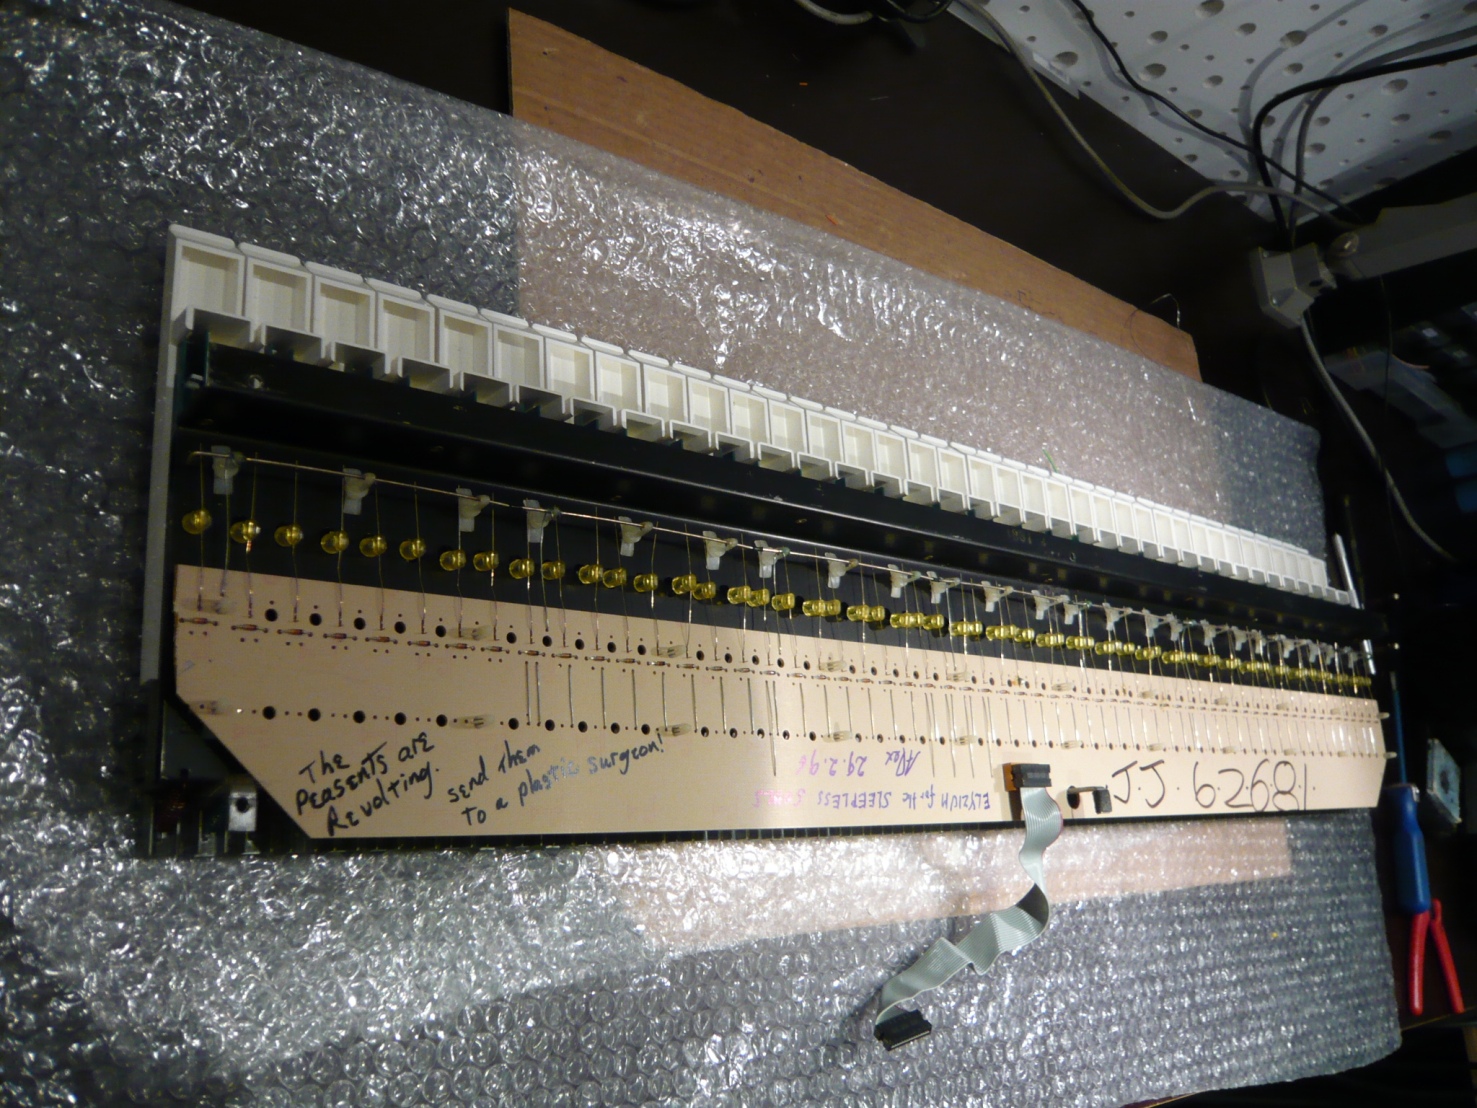
The sticky keys are the result of the defective bushings under the keys, which act as a dampener in both ways of keyboard action. The rubber bushings seem to harden over the years and eventually become brittle and sticky.
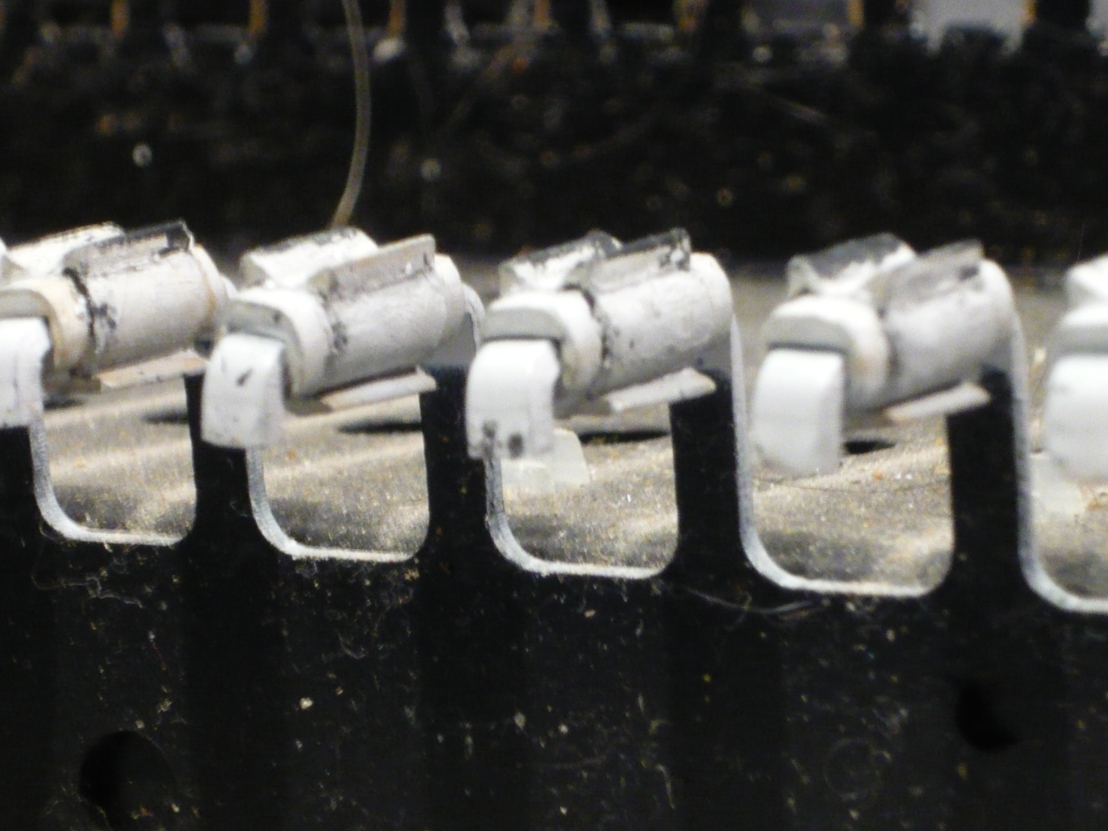
I used the following method to get that thing smoothly working again but expect to spend araound 4 hours to do the job, it’s quite tedious.
First, all the keys have to be removed, as well as the springs, taking care not to hurt yourselself. As the keys are now removed it’s a good idea to give them a good clean, easy to be done if you have a dishwashing machine!
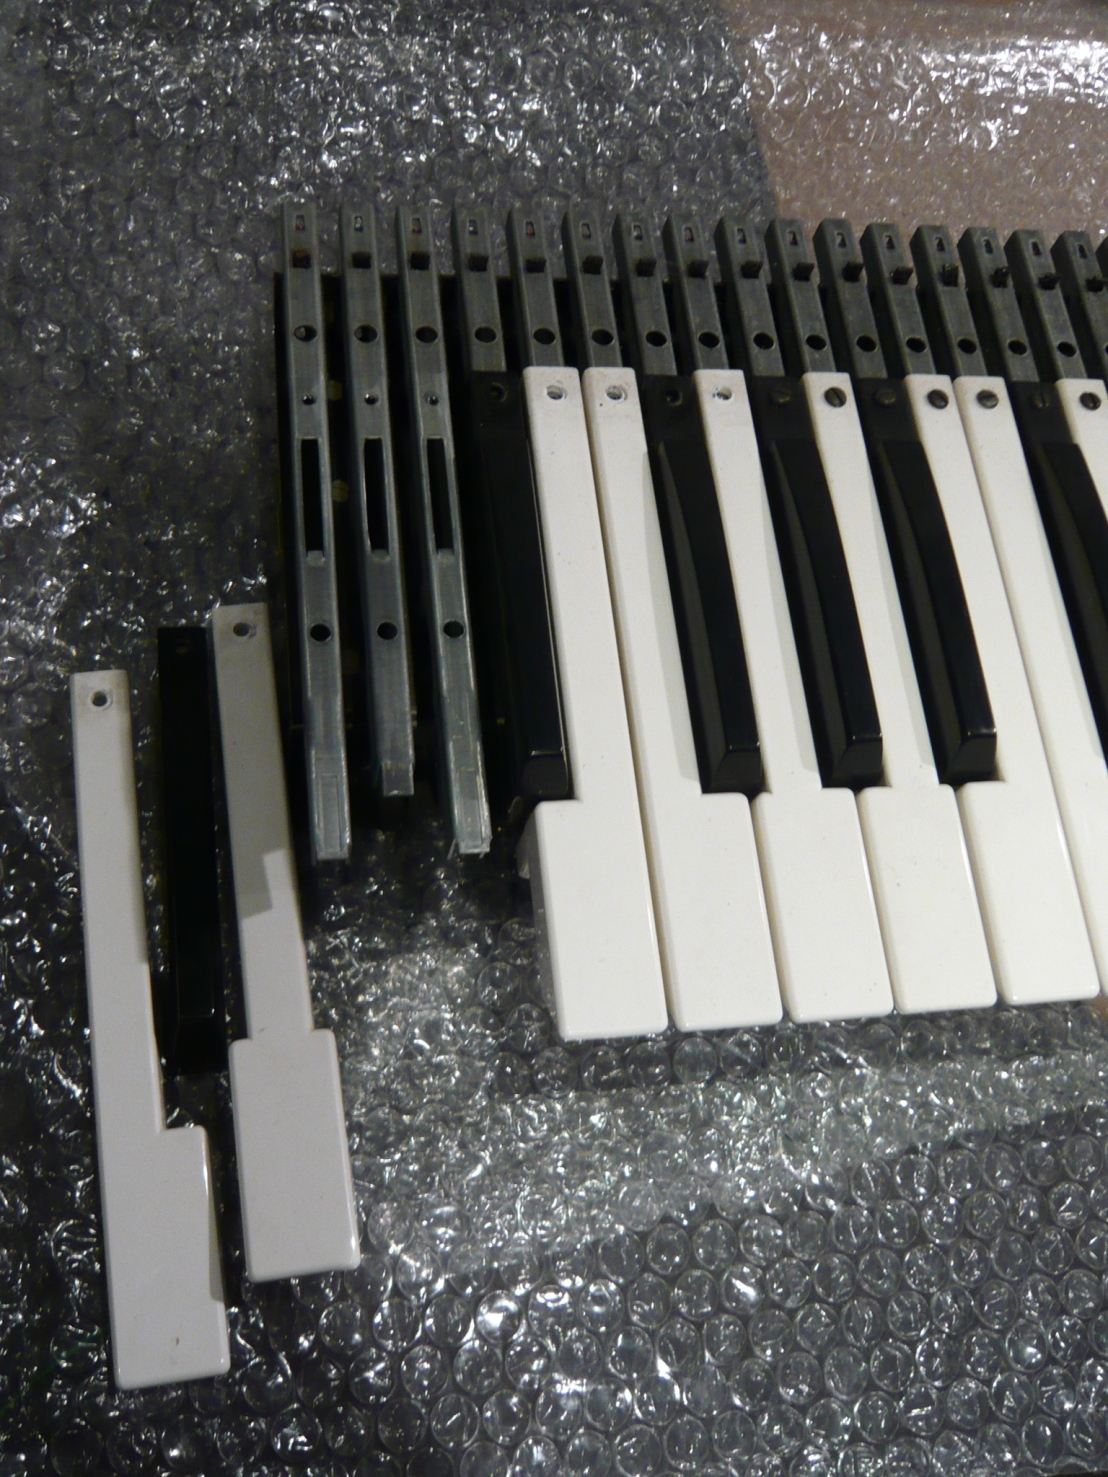
Next, the stripped down keyboard can be further dismounted by removing the metal keys.
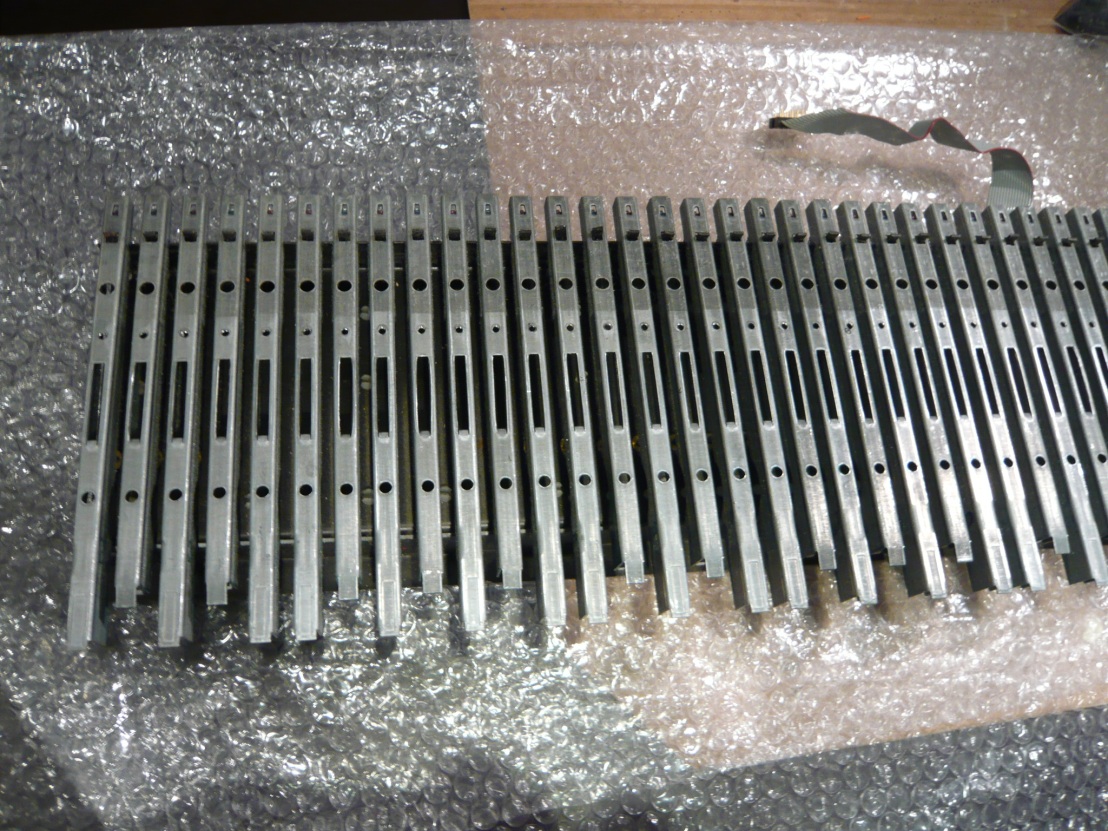
To remove these keys, the spring has to be removed by unhooking them with a screwdriver.
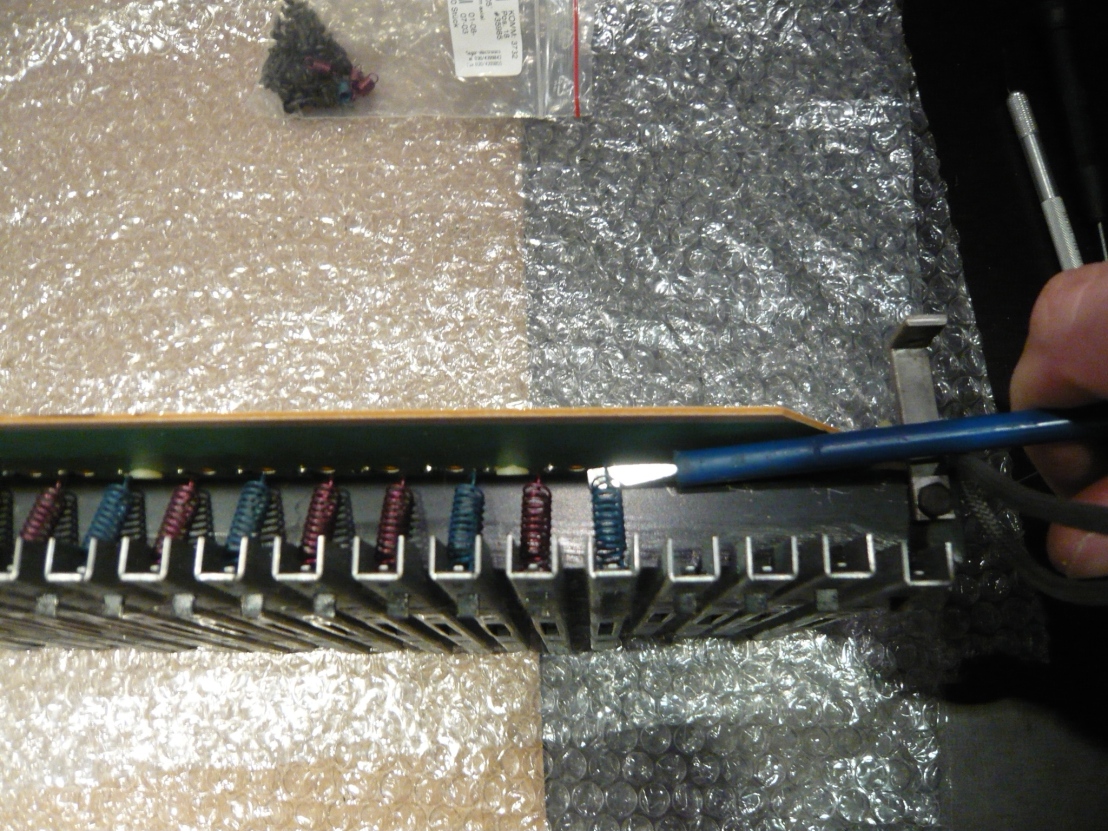
Remember that blue springs belong to the black keys, red springs belong to the white ones!
Now the keyboard can be taken completely apart, time to cleanup all the dirt, tobacco, hair or whatever you find underneath.
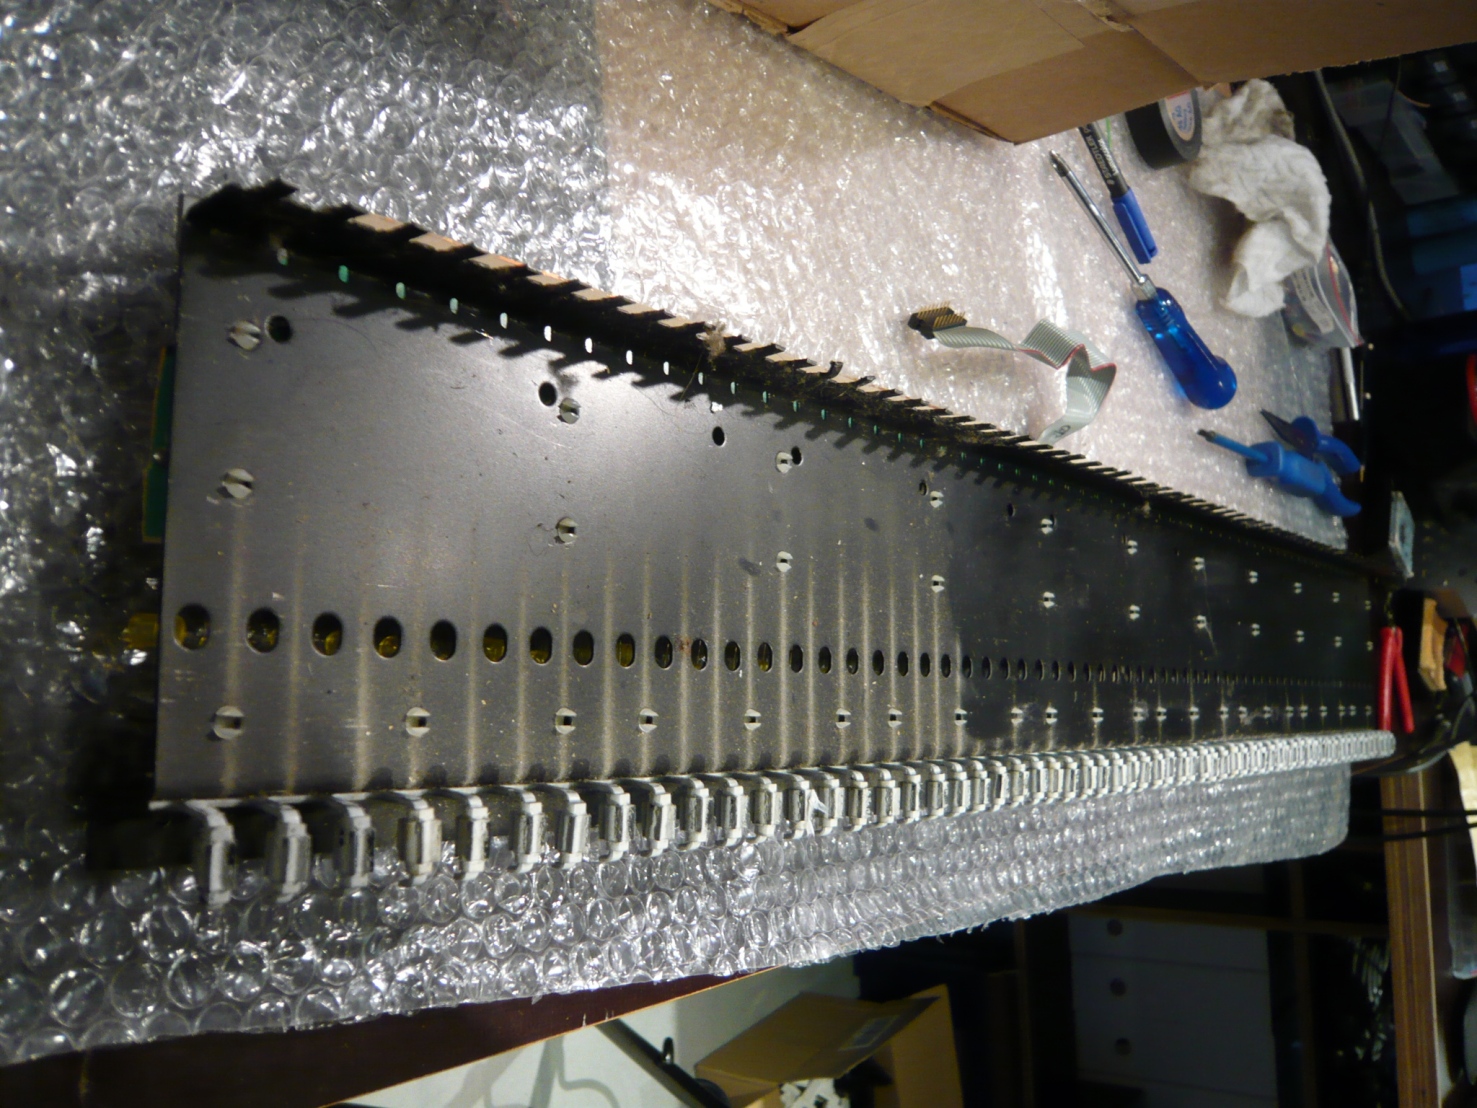
The old bushings can be removed by destroying them with a sharp screwdriver. The last remains of the bushings can be removed by wiping with some acetone.
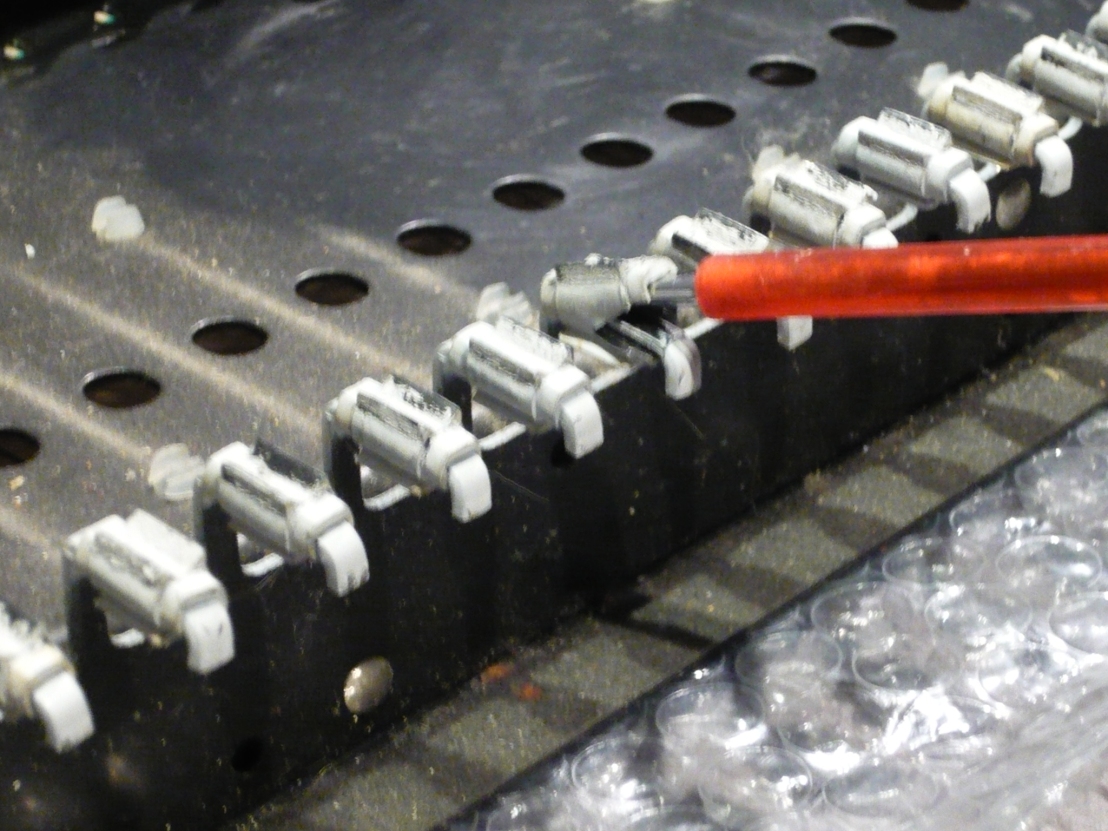
Now the new bushing replacement can be installed. It consists out of some plastic shielded wire and some piano felt cut to size.
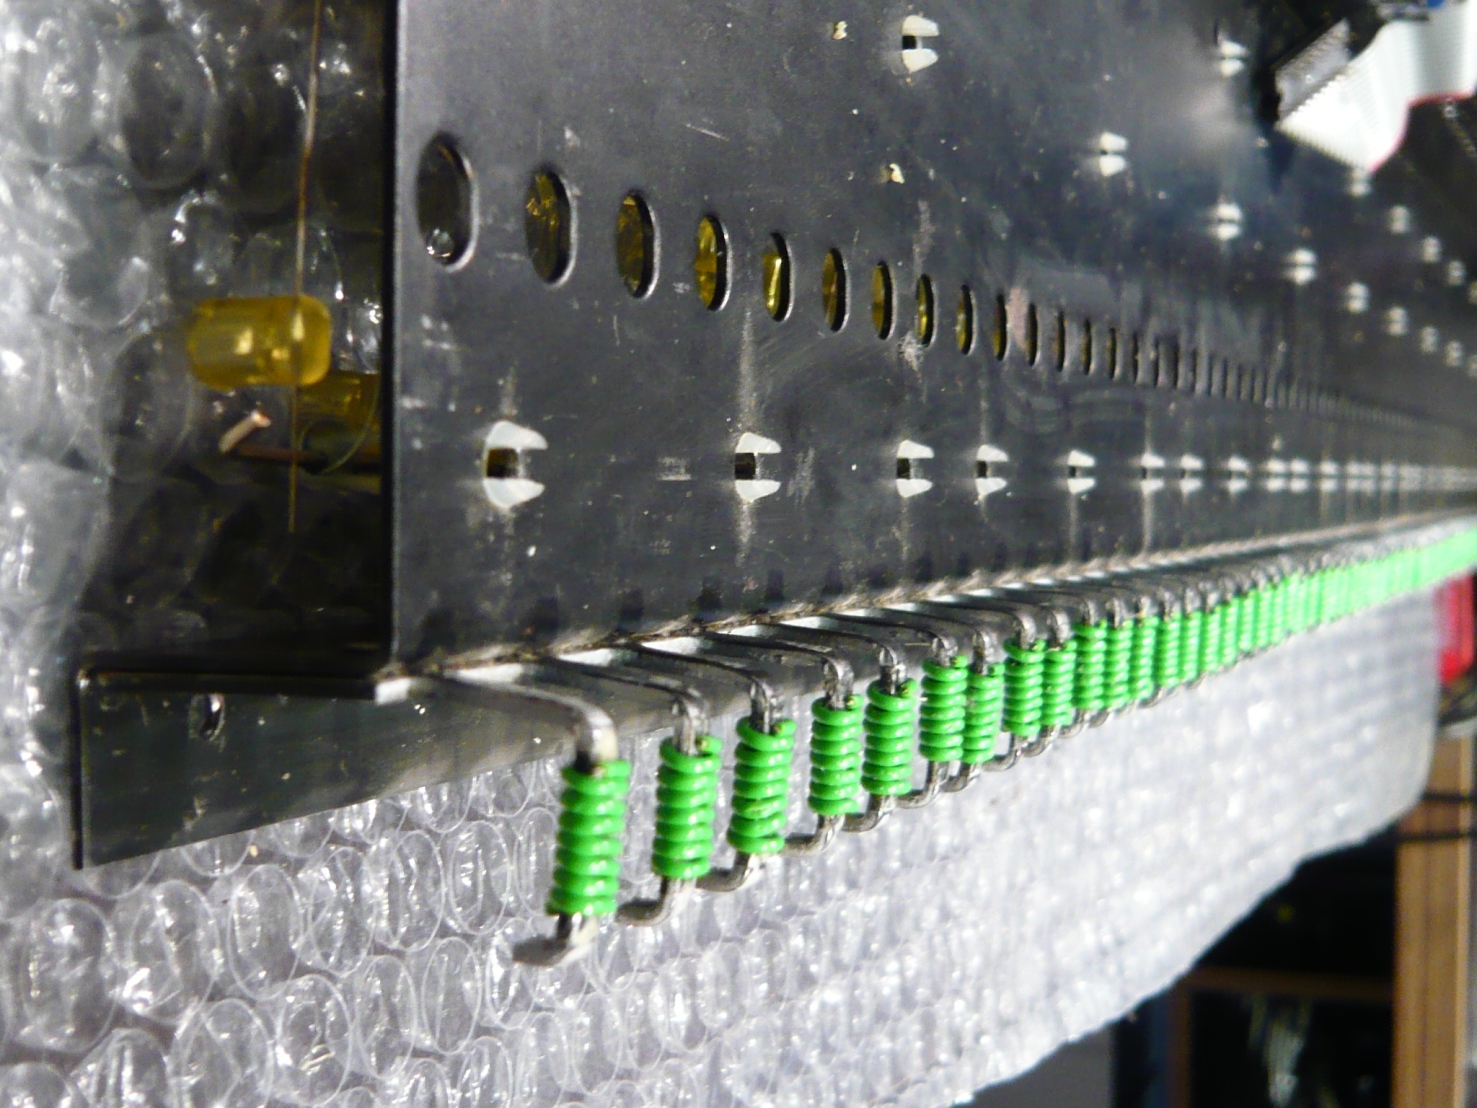
The wire gets pre-cut to lenght (use wire with a solid core otherwise it won’t stay in place) and the wound around the metal part where the old bushings were resting previously. After the wire is in place, with the help of some good glue (Pattex in my case), the little felt rectangles can be put into place.
Care has to be taken not to put too much glue since you don’t want your new felt bushings being stuck to the keys again.
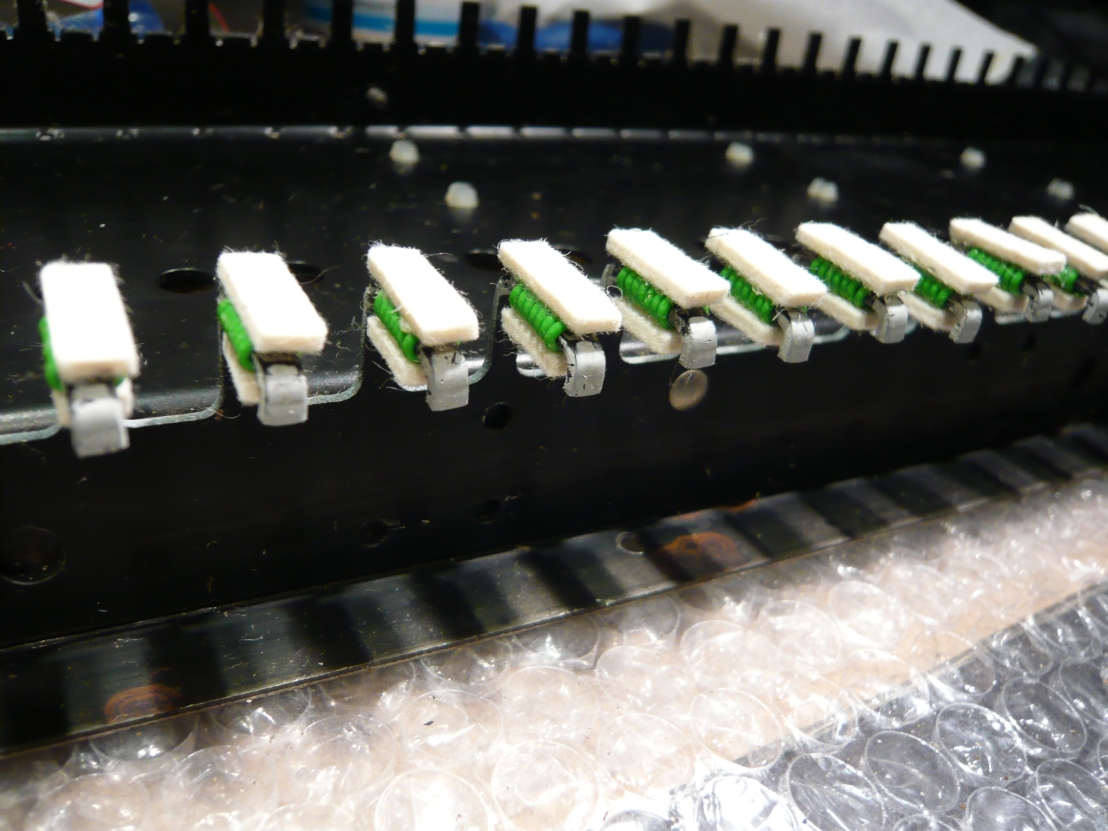
After this procedure, the metal keys can be refitted and the keyboard reassembled. I think this is quite a durable solution, with some amount of time I managed to restore my keyboards to a very playable condition again.
